Our Workflow

Digital Planning, Surgical Precision, Real Results
Request a Demo ·

The D2D Workflow
D2D Planning streamlines every step of digital implant planning — from file upload to surgical guide delivery. Our platform was created by Harvard-trained implant surgeons to help clinicians plan smarter, faster, and more accurately.
Each case is reviewed and refined by practicing dentists who understand the clinical realities behind every digital file.
We combine surgical expertise with digital precision — giving you predictable, prosthetically driven results every time.
Getting Started
Start your first case in minutes. Upload your patient’s 3D radiographic (DICOM) and optical impression files (STL, PLY) files securely through your D2D dashboard. You can also include a diagnostic wax-up and specify your preferred implant system or restoration type.
Our clinical team will review your submission and begin planning immediately — combining surgical insight with digital precision to prepare your case for review.
Planning Request
01
Once your account is created, you can easily begin planning your treatment cases through the D2D platform.
You’ll be able to:
1. Upload your patient’s 3D radiographic (DICOM) and optical impression in STL or PLY format.
2. Optionally upload a diagnostic wax-up file (STL).
3. Choose your implant brand and size.
4. Select the type of restoration, guide, or prosthetic planning needed.
5. Include any other information you’d like to share with our planning team.
Please note: Final surgical guides are delivered as STL files only, ready for in-house or third-party 3D printing.
Need help with fully edentulous cases?
Our clinicians can guide you through special protocols for these cases — ensuring accuracy and optimal outcomes.

Planning & Proposal
02
Based on the information you provide, our team will work on your implant planning with the same precision and rigor we apply to our own patients.
Every plan draws on our surgeons’ clinical experience and in-depth knowledge of guided surgery.
Once the planning is complete, you’ll receive a detailed planning proposal, which includes:
1. Implant positioning based on your prosthetic project and surgical requirements.
2. A custom surgical guide design aligned with your selected system.
3. Automated notifications and updates on your planning status.

Review & Validation
03
After reviewing your plan, you have complete freedom to decide.
You can approve the proposal as presented or request adjustments.
We offer two complimentary modification cycles to ensure your final result matches your expectations.
You can:
1. Leave detailed instructions or specific modification requests.
2. Access and review the planning directly on the D2D website, no appointment required.
3. Validate, reject, or revise your proposal at any time.
4. Download your files directly to your device once finalized.
Stay in full control — review, collaborate, and validate your plan whenever it suits your schedule.

Finalization
04
Once your planning is approved, you'll gain access to the drilling protocol and surgical guide file for download.At this point, the planning process is complete and ready for production.You will receive:The surgical guide file in STL format, ready for in-house or third-party 3D printing.The corresponding drilling protocol documentation.Or choose our professional 3D printing and shipping service to receive a finished, validated guide delivered directly to your clinic — surgical-grade materials, precision fit, ready for surgery.
To ensure a precise and predictable outcome, please follow these steps before submitting your case:
04
Upload Complete Files
When submitting your planning request, upload all scans — with and without markers — including the antagonist and occlusion scans.
04
Upload Complete Files
When submitting your planning request, upload all scans — with and without markers — including the antagonist and occlusion scans.
04
Upload Complete Files
When submitting your planning request, upload all scans — with and without markers — including the antagonist and occlusion scans.
03
Capture Radiographic and Optical Data
Perform a CBCT scan with the prosthesis and markers in place, then digitally scan the prosthesis surface (internal and external) with the markers visible.
03
Capture Radiographic and Optical Data
Perform a CBCT scan with the prosthesis and markers in place, then digitally scan the prosthesis surface (internal and external) with the markers visible.
03
Capture Radiographic and Optical Data
Perform a CBCT scan with the prosthesis and markers in place, then digitally scan the prosthesis surface (internal and external) with the markers visible.
02
Position and Stabilize
Seat the prosthesis fully in the patient’s mouth, ensuring it is stable, properly positioned, and relined if necessary.
02
Position and Stabilize
Seat the prosthesis fully in the patient’s mouth, ensuring it is stable, properly positioned, and relined if necessary.
02
Position and Stabilize
Seat the prosthesis fully in the patient’s mouth, ensuring it is stable, properly positioned, and relined if necessary.
01
Prepare the Prosthesis
Place at least three radiopaque markers evenly across the diagnostic wax-up or complete prosthesis used for the prosthetic project.
01
Prepare the Prosthesis
Place at least three radiopaque markers evenly across the diagnostic wax-up or complete prosthesis used for the prosthetic project.
01
Prepare the Prosthesis
Place at least three radiopaque markers evenly across the diagnostic wax-up or complete prosthesis used for the prosthetic project.
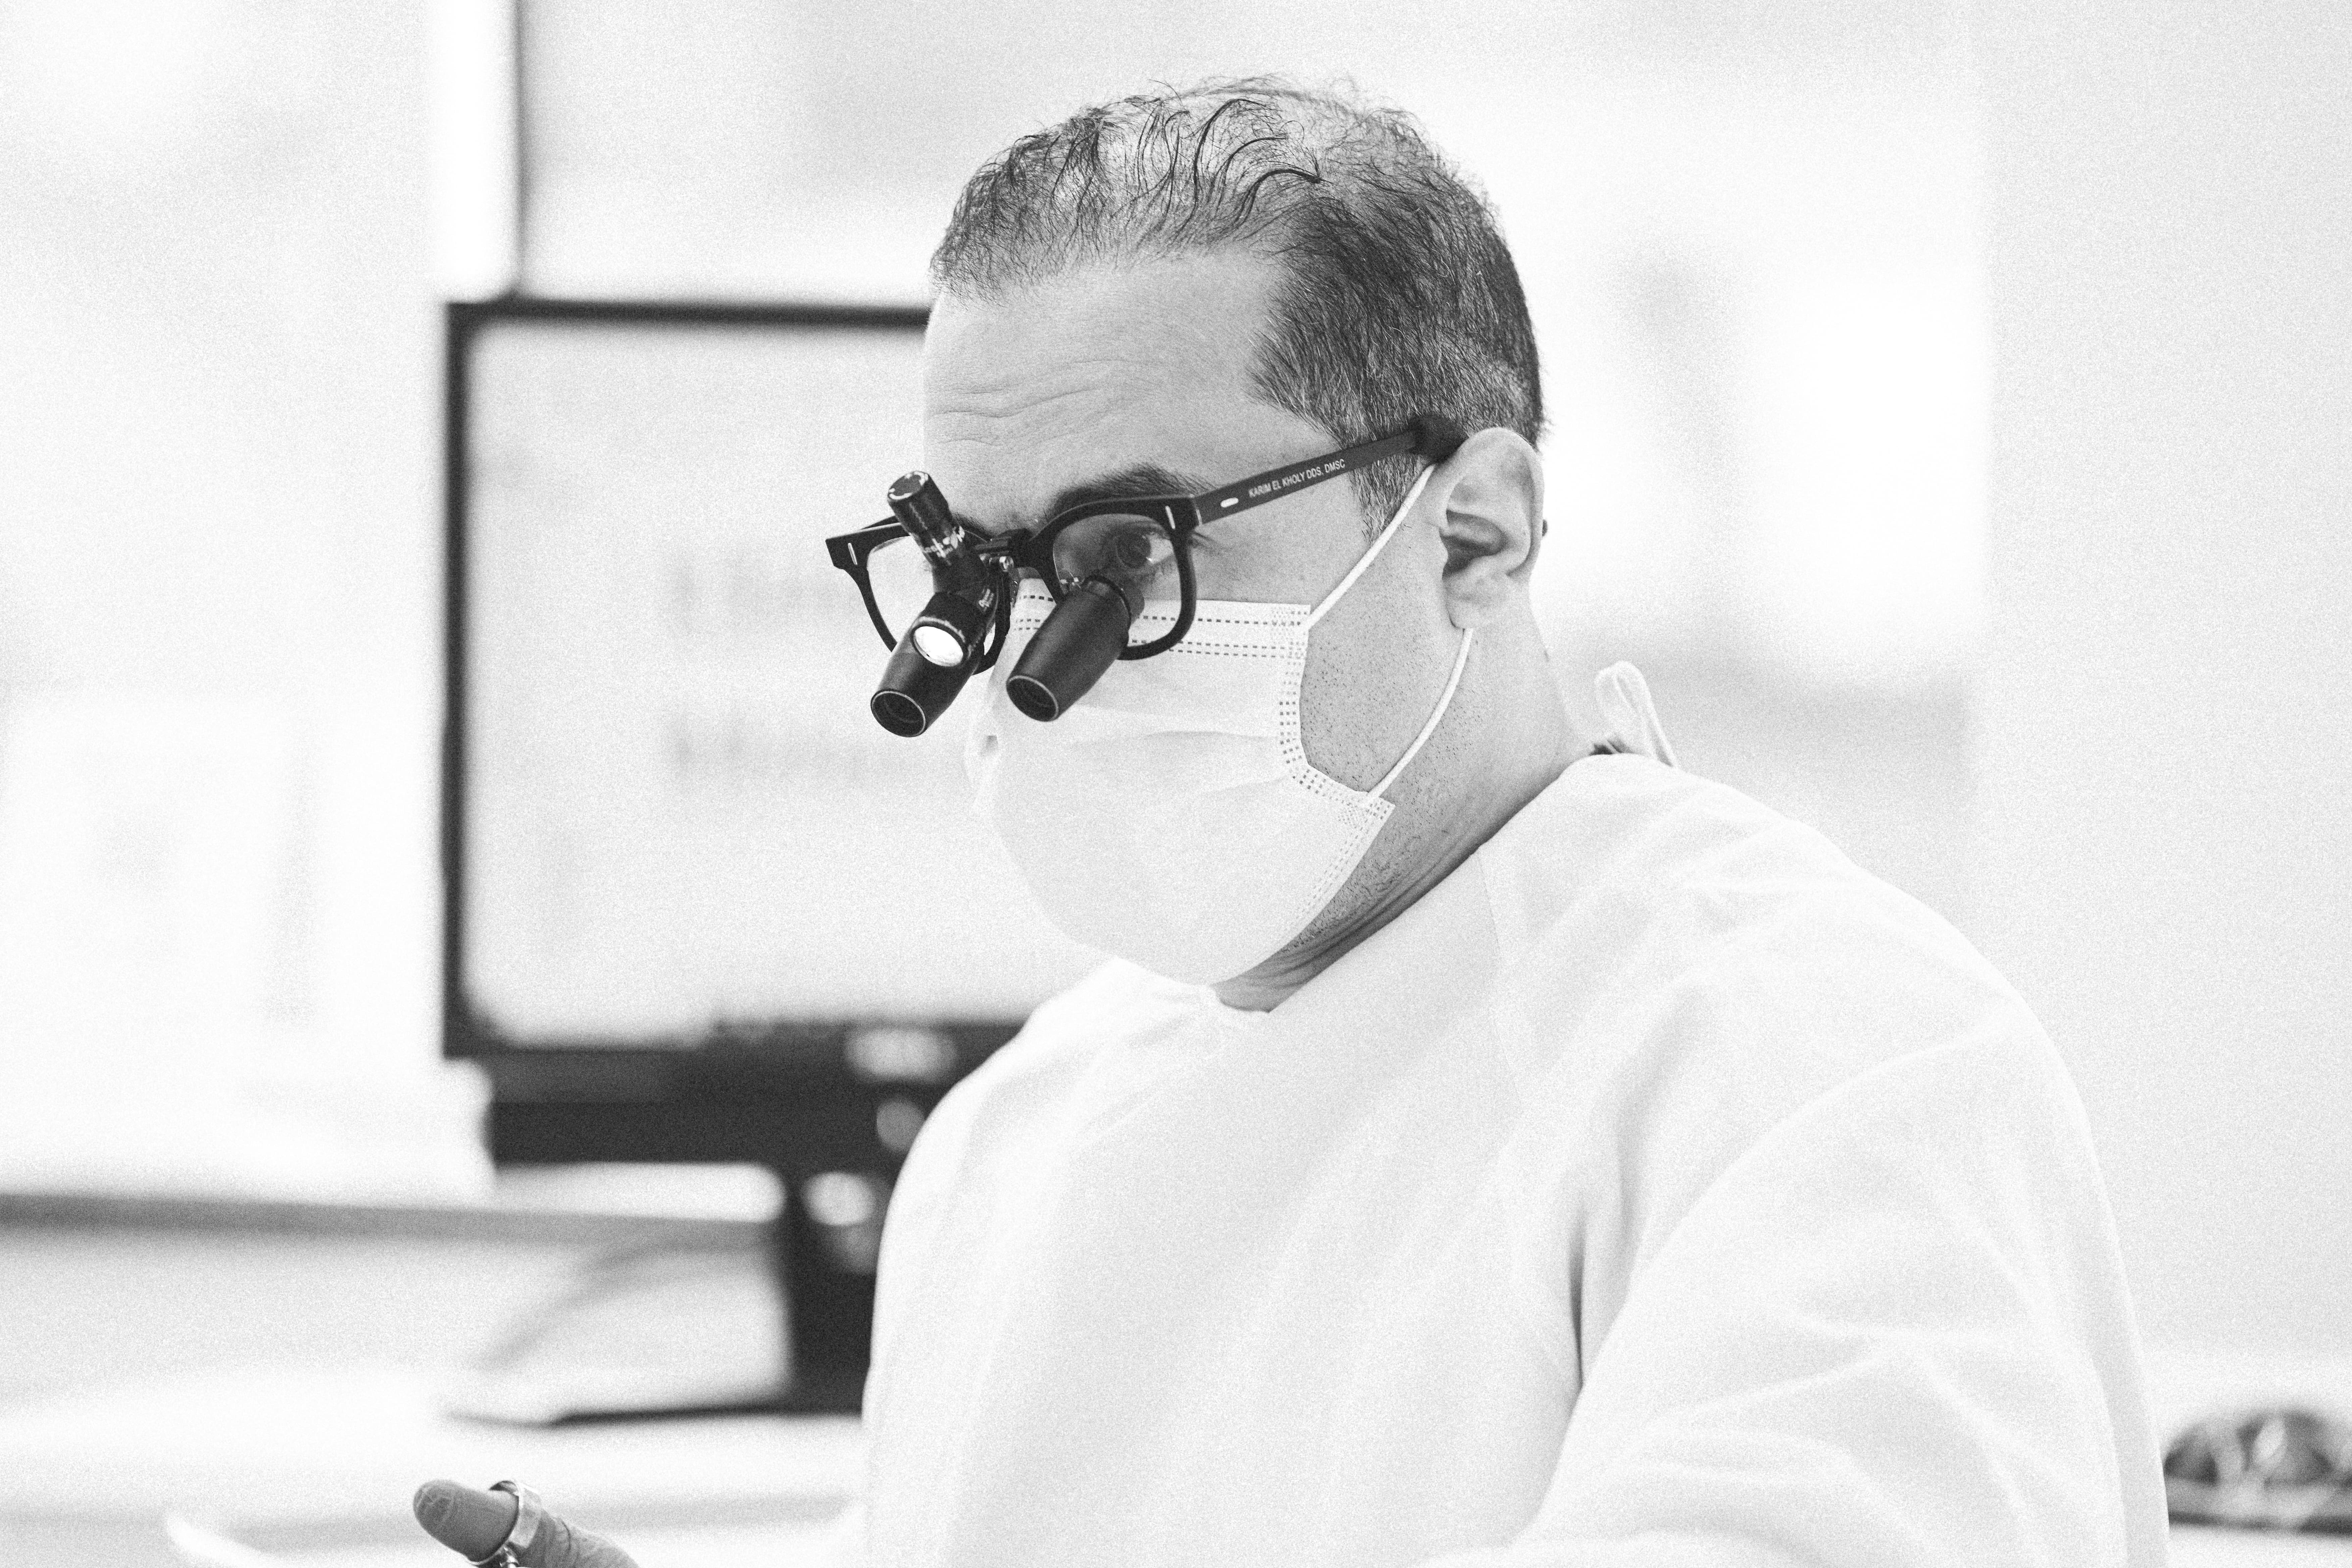
No technician, no engineer.
Just surgical planning by one dentist for another.

No technician, no engineer.
Just surgical planning by one dentist for another.
No technician, no engineer.
Just surgical planning by one dentist for another.
Our Workflow
Digital Planning, Surgical Precision, Real Results
Request a Demo ·
The D2D Workflow
D2D Planning streamlines every step of digital implant planning — from file upload to surgical guide delivery. Our platform was created by Harvard-trained implant surgeons to help clinicians plan smarter, faster, and more accurately.
Each case is reviewed and refined by practicing dentists who understand the clinical realities behind every digital file.
We combine surgical expertise with digital precision — giving you predictable, prosthetically driven results every time.
Getting Started
Start your first case in minutes. Upload your patient’s 3D radiographic (DICOM) and optical impression files (STL, PLY) files securely through your D2D dashboard. You can also include a diagnostic wax-up and specify your preferred implant system or restoration type.
Our clinical team will review your submission and begin planning immediately — combining surgical insight with digital precision to prepare your case for review.
Getting Started
Start your first case in minutes. Upload your patient’s 3D radiographic (DICOM) and optical impression files (STL, PLY) files securely through your D2D dashboard. You can also include a diagnostic wax-up and specify your preferred implant system or restoration type.
Our clinical team will review your submission and begin planning immediately — combining surgical insight with digital precision to prepare your case for review.
Planning Request
01
Once your account is created, you can easily begin planning your treatment cases through the D2D platform.
You’ll be able to:
1. Upload your patient’s 3D radiographic (DICOM) and optical impression in STL or PLY format.
2. Optionally upload a diagnostic wax-up file (STL).
3. Choose your implant brand and size.
4. Select the type of restoration, guide, or prosthetic planning needed.
5. Include any other information you’d like to share with our planning team.
Please note: Final surgical guides are delivered as STL files only, ready for in-house or third-party 3D printing.
Need help with fully edentulous cases?
Our clinicians can guide you through special protocols for these cases — ensuring accuracy and optimal outcomes.
Planning & Proposal
02
Based on the information you provide, our team will work on your implant planning with the same precision and rigor we apply to our own patients.
Every plan draws on our surgeons’ clinical experience and in-depth knowledge of guided surgery.
Once the planning is complete, you’ll receive a detailed planning proposal, which includes:
1. Implant positioning based on your prosthetic project and surgical requirements.
2. A custom surgical guide design aligned with your selected system.
3. Automated notifications and updates on your planning status.
Review & Validation
03
After reviewing your plan, you have complete freedom to decide.
You can approve the proposal as presented or request adjustments.
We offer two complimentary modification cycles to ensure your final result matches your expectations.
You can:
1. Leave detailed instructions or specific modification requests.
2. Access and review the planning directly on the D2D website, no appointment required.
3. Validate, reject, or revise your proposal at any time.
4. Download your files directly to your device once finalized.
Stay in full control — review, collaborate, and validate your plan whenever it suits your schedule.
Finalization
04
Once your planning is approved, you'll gain access to the drilling protocol and surgical guide file for download.At this point, the planning process is complete and ready for production.You will receive:The surgical guide file in STL format, ready for in-house or third-party 3D printing.The corresponding drilling protocol documentation.Or choose our professional 3D printing and shipping service to receive a finished, validated guide delivered directly to your clinic — surgical-grade materials, precision fit, ready for surgery.
To ensure a precise and predictable outcome, please follow these steps before submitting your case:
04
Upload Complete Files
When submitting your planning request, upload all scans — with and without markers — including the antagonist and occlusion scans.
04
Upload Complete Files
When submitting your planning request, upload all scans — with and without markers — including the antagonist and occlusion scans.
04
Upload Complete Files
When submitting your planning request, upload all scans — with and without markers — including the antagonist and occlusion scans.
03
Capture Radiographic and Optical Data
Perform a CBCT scan with the prosthesis and markers in place, then digitally scan the prosthesis surface (internal and external) with the markers visible.
03
Capture Radiographic and Optical Data
Perform a CBCT scan with the prosthesis and markers in place, then digitally scan the prosthesis surface (internal and external) with the markers visible.
03
Capture Radiographic and Optical Data
Perform a CBCT scan with the prosthesis and markers in place, then digitally scan the prosthesis surface (internal and external) with the markers visible.
02
Position and Stabilize
Seat the prosthesis fully in the patient’s mouth, ensuring it is stable, properly positioned, and relined if necessary.
02
Position and Stabilize
Seat the prosthesis fully in the patient’s mouth, ensuring it is stable, properly positioned, and relined if necessary.
02
Position and Stabilize
Seat the prosthesis fully in the patient’s mouth, ensuring it is stable, properly positioned, and relined if necessary.
01
Prepare the Prosthesis
Place at least three radiopaque markers evenly across the diagnostic wax-up or complete prosthesis used for the prosthetic project.
01
Prepare the Prosthesis
Place at least three radiopaque markers evenly across the diagnostic wax-up or complete prosthesis used for the prosthetic project.
01
Prepare the Prosthesis
Place at least three radiopaque markers evenly across the diagnostic wax-up or complete prosthesis used for the prosthetic project.
No technician, no engineer.
Just surgical planning by one dentist for another.
No technician, no engineer.
Just surgical planning by one dentist for another.
No technician, no engineer.
Just surgical planning by one dentist for another.